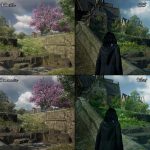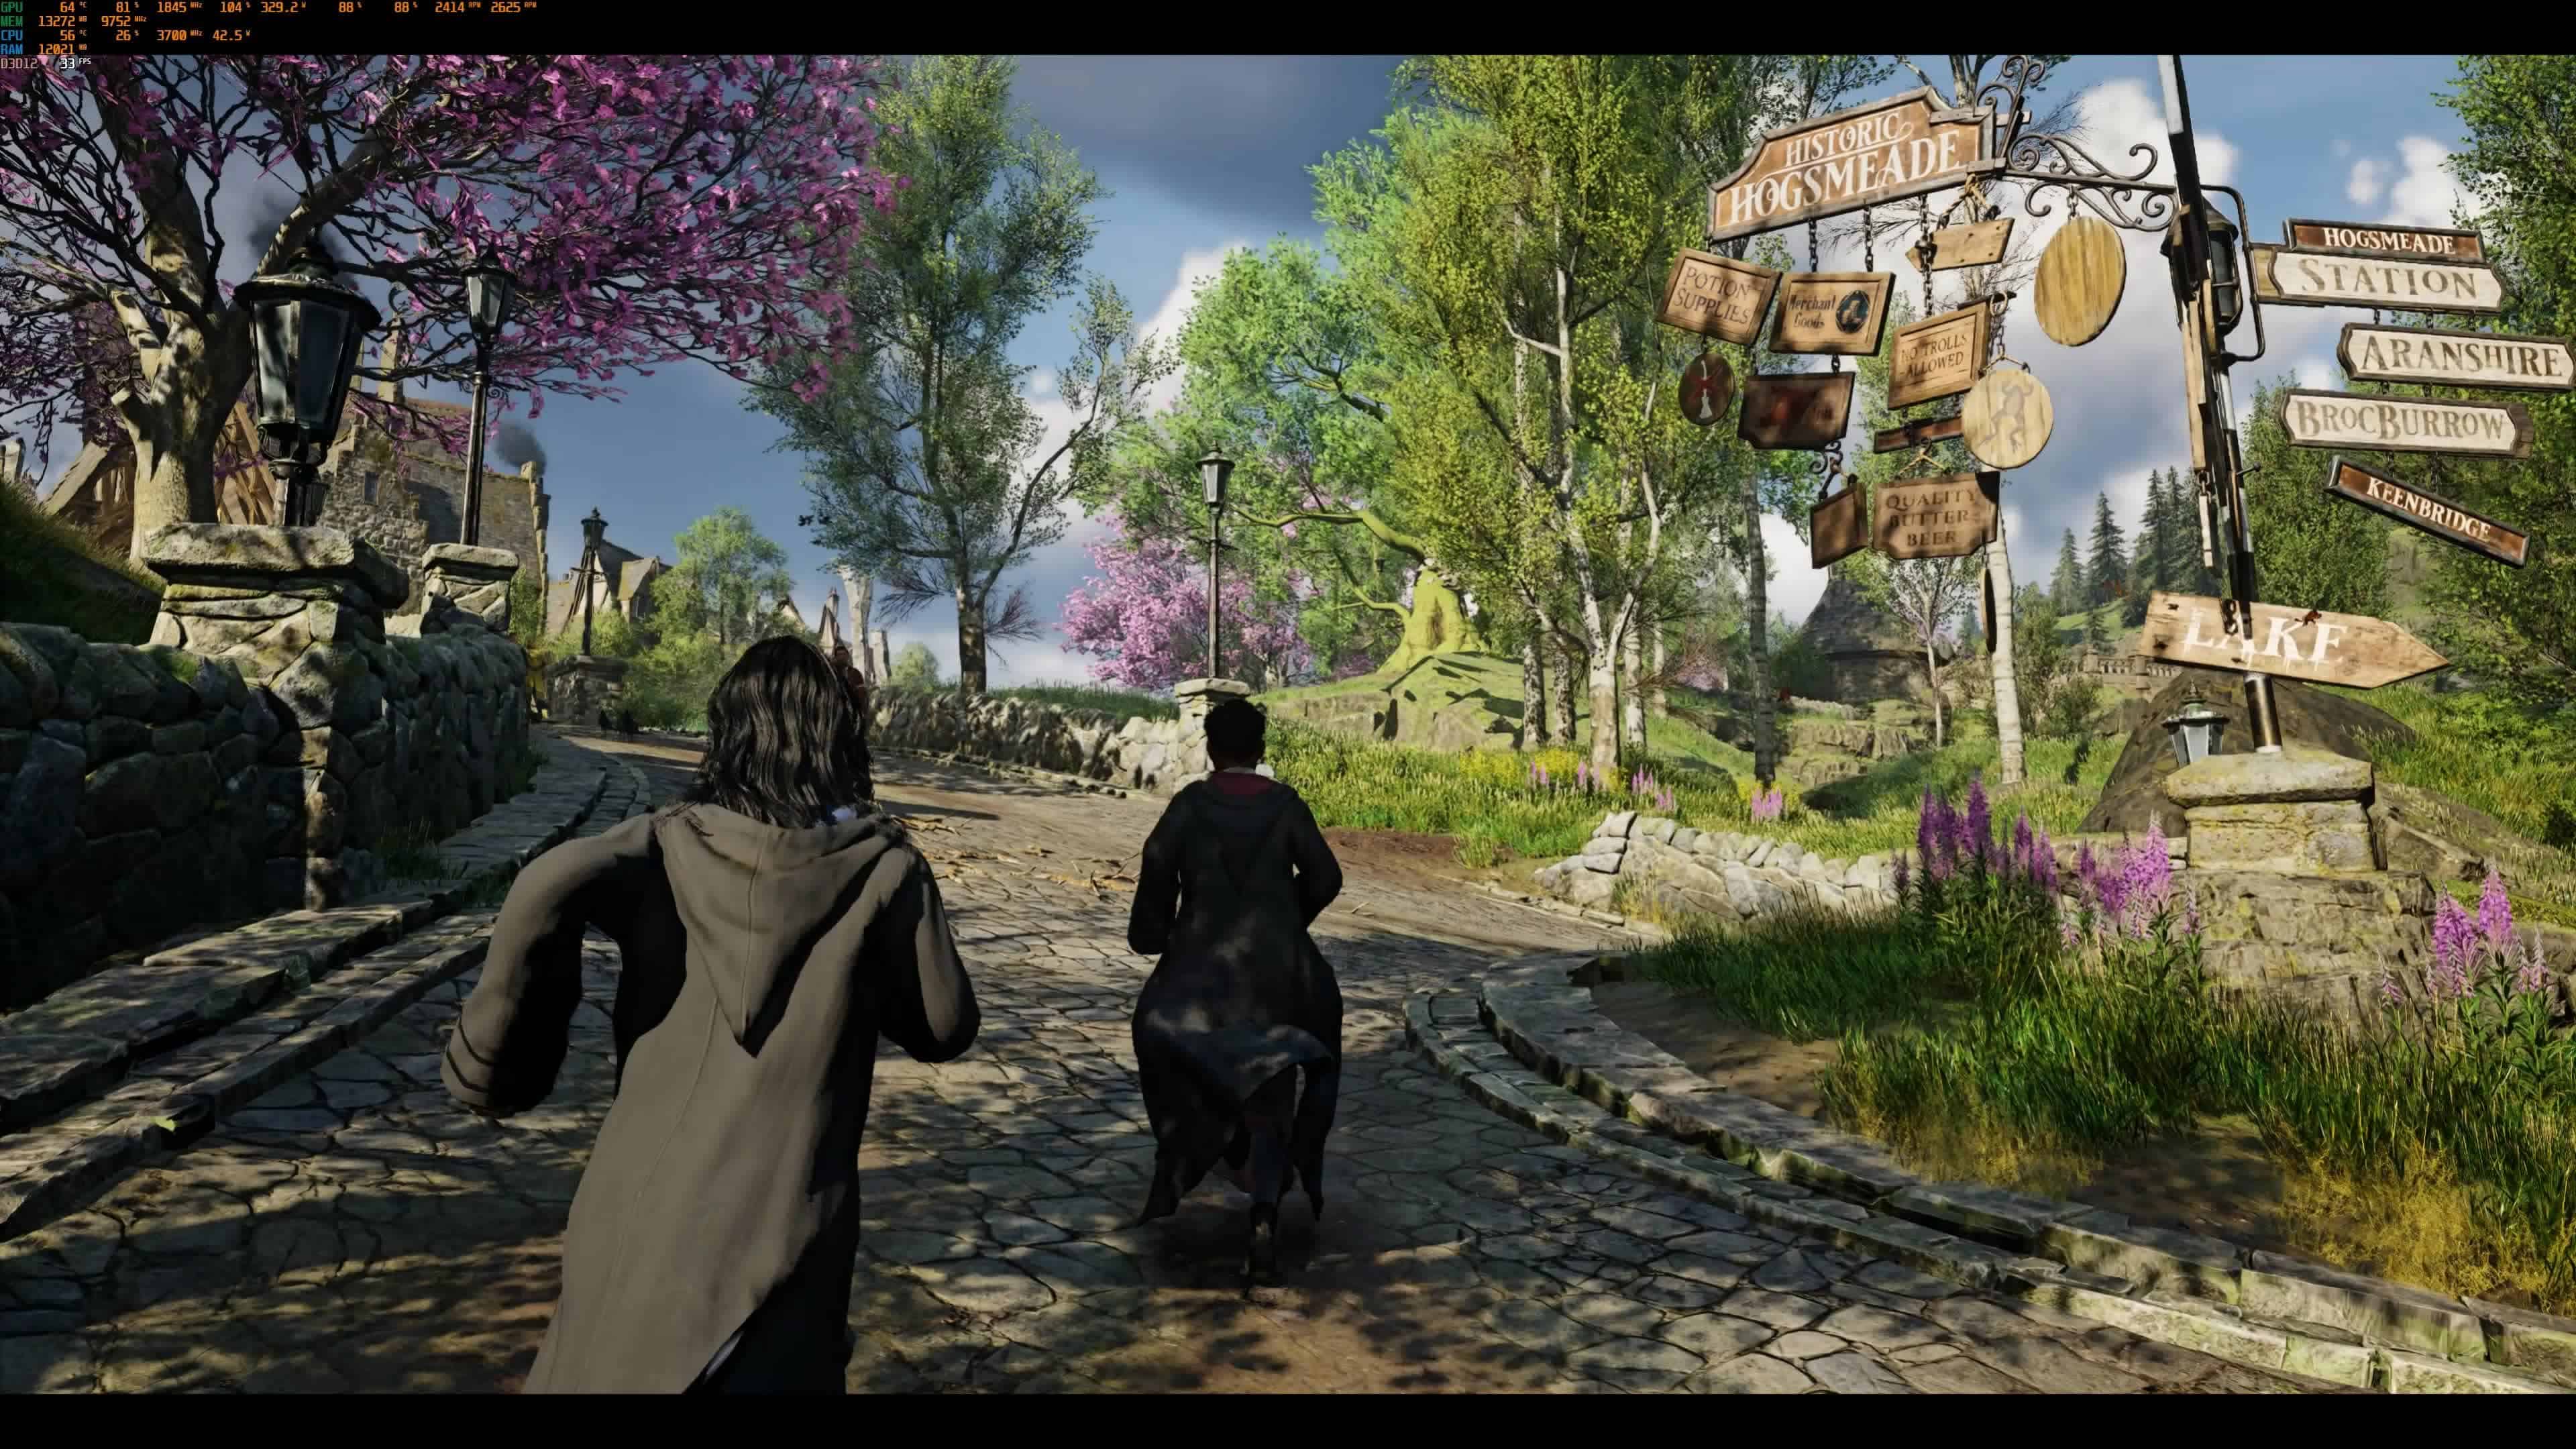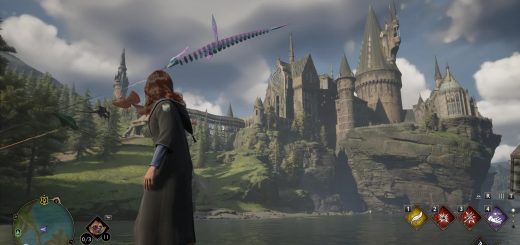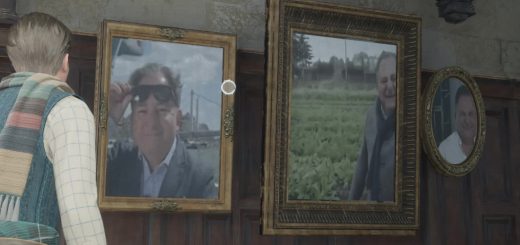


UHG Reshade
4 presets in the archives – Cinematic, Colorful Cinematic, Vivid and now Realistic is added. ~10fps drop.
Big thanks to sylgail for the gorgeous images!
Installation:
1. Delete any previous reshade files you have, if you have any. Open your Hogwarts Legacy\Phoenix\Binaries\Win64 folder where the HogwartsLegacy.exe file is located and delete – reshade-shaders(the folder), dxgi.dll, dxgi.txt(you’ll have this file only if you use previous versions of the Reshade 4.x.x), ReShade.ini, ReShade.log(it’s a text document file which you’ll probably have if you use a latest version of the Reshade 5.x.x) and all other preset files. Download and install Reshade 5.7.0, small window will appear, click “Browse”, find your Hogwarts Legacy\Phoenix\Binaries\Win64 folder, then choose HogwartsLegacy.exe file, click “Next”, choose to install for Direct3D 10/11/12, click “Next”, on the next window don’t choose any preset, you should click “Skip”, now choose to install all packs with all effects, Finish the installation. Link to ReShade Setup 5.7.0 – https://reshade.me/downloads/ReShade_Setup_5.7.0.exe.
2. Download my reshade archive and extract the preset files from the archive to your Hogwarts Legacy\Phoenix\Binaries\Win64 folder, where the HogwartsLegacy.exe file is located.
3. Start the game, open the Reshade menu by clicking ‘Home’ button on your keyboard, Finish the Tutorial by clicking Continue or just Skip it, then click on the long bar on the top of the Reshade menu and there Select any file of my presets to activate it.
4. Hope you’ll like. Enjoy!
Uninstallation:
Delete reshade-shaders(the folder), dxgi.dll, ReShade.ini, ReShade.log(the text document file) and all UHG*****.ini files. You can find these files in your Hogwarts Legacy\Phoenix\Binaries\Win64 folder, where the HogwartsLegacy.exe file is located.


