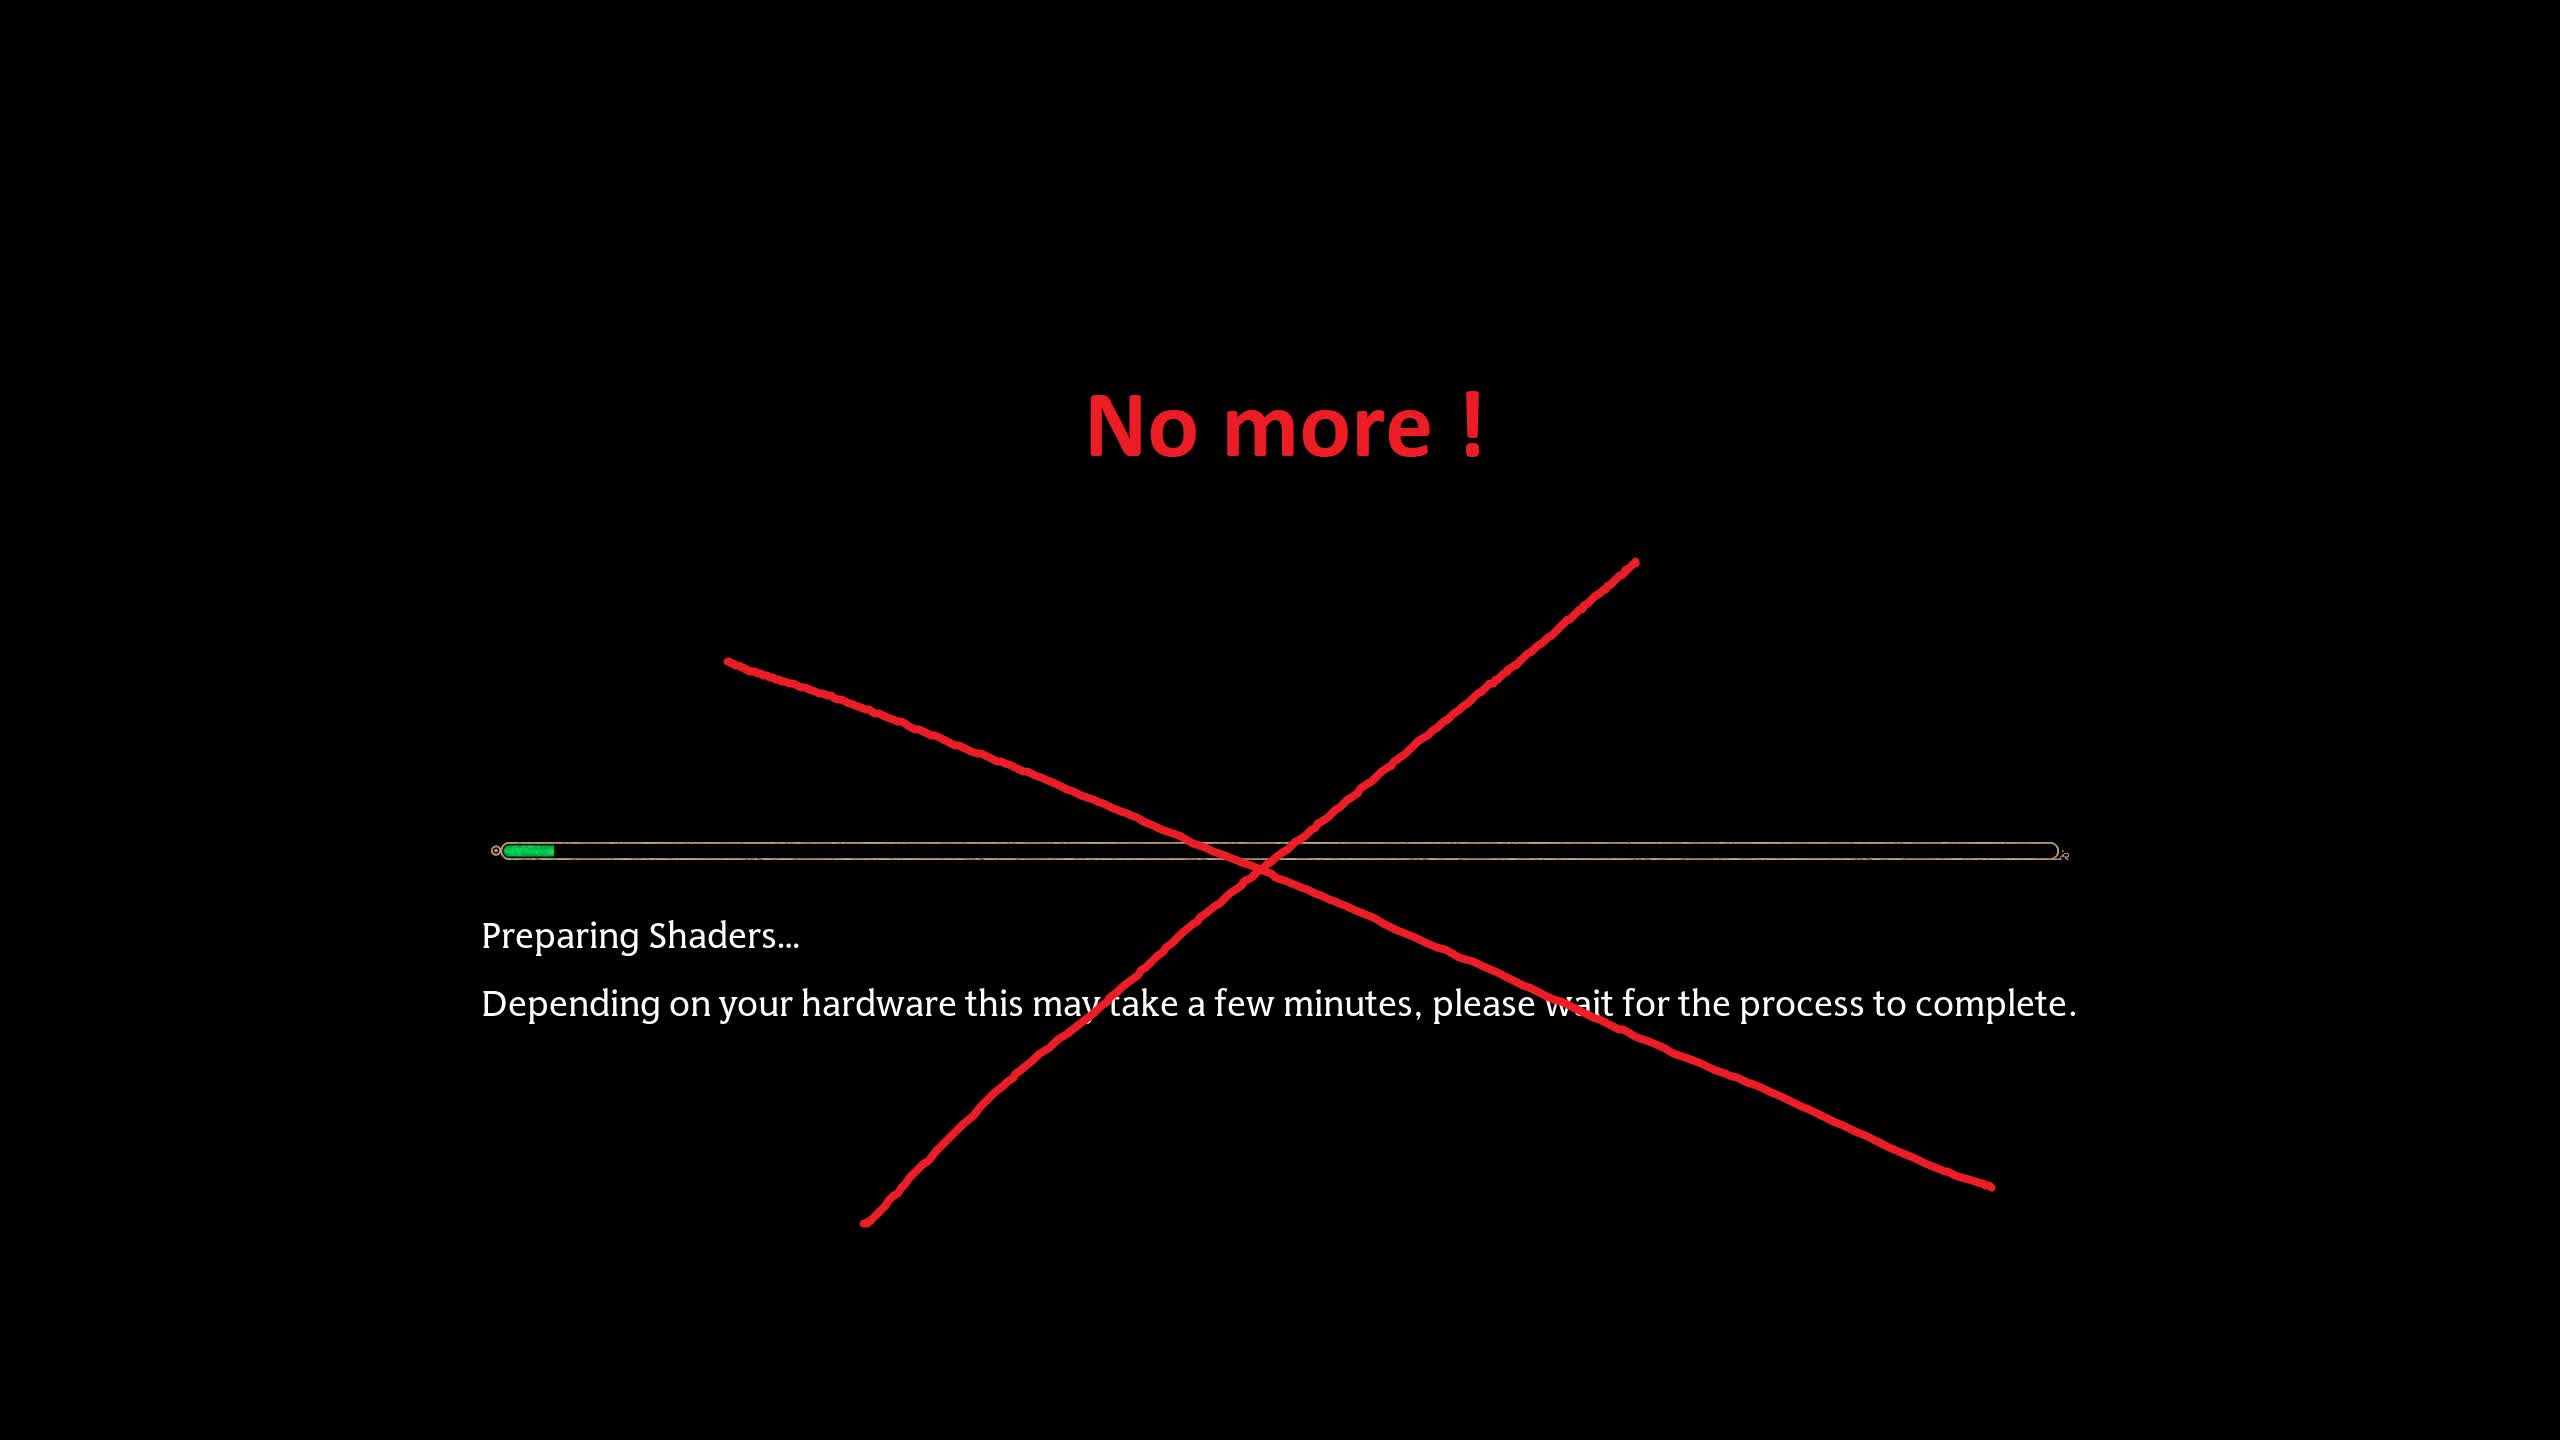
Shader Compilation Removed
Removes shader re-compilation/re-checking on each startup.
The mod removes shader compilation step done by the game on startup. No visible drawbacks were observed after removing it (at least after the first compilation is done).
How to install:
1. Run the game and set everything up to your preferences.
2. Navigate to “C:\Users\[YOUR USERNAME HERE]\AppData\Local\Hogwarts Legacy\Saved\Config\WindowsNoEditor\”.
3. Backup the whole content of the folder to some place else (like C:\HogwartsBackups\) if you want to be on a safe side.
4. Replace Engine.ini in the folder with the one from inside the mod’s archive.
5. Open GameUserSettings.ini (windows notepad will do – right click and use “open with”). Navigate to the end of the file and locate this text:
[ShaderPipelineCache.CacheFile]
LastOpened=Phoenix
Change it to
[ShaderPipelineCache.CacheFile]
LastOpened=Test
Save and close the file and set it to “read-only” (right click the file for options).
Run the game. You should see no shader compilation progress bar. If you still see it, check everything again and make sure you did edit and change the attributes correctly.
Note: since your user settings file is now read only, your changes to most settings in-game won’t stick, hence, be careful setting everything up in advance!
To uninstall just remove the read-only attribute from GameUserSettings.ini. You can also restore all your backed up ini files.


