Cinematic Ultra (Hidden Graphics Settings better than Ultra) – Not a Reshade
Unlocks the Cinematic Graphics Setting, which is a hidden graphic preset with better values than ultra! Better shadows, better LODs, better textures, better everything! Can customize them in the graphics menu like normal. More info in the description! Not a Reshade! Also reported to fix stuttering in the comments!
Replaces the Ultra variant of each setting, so all you have to do is set whatever setting you want to Ultra and it will have Cinematic values. E.G. if you want cinematic shadows just set them to Ultra.
In case you can’t run the game with everything on Cinematic I’ve made the below changes:
High settings have the values of Ultra settings.
Medium settings have High values.
Low settings have Medium values.
You can change them all from the graphics menu like normal!
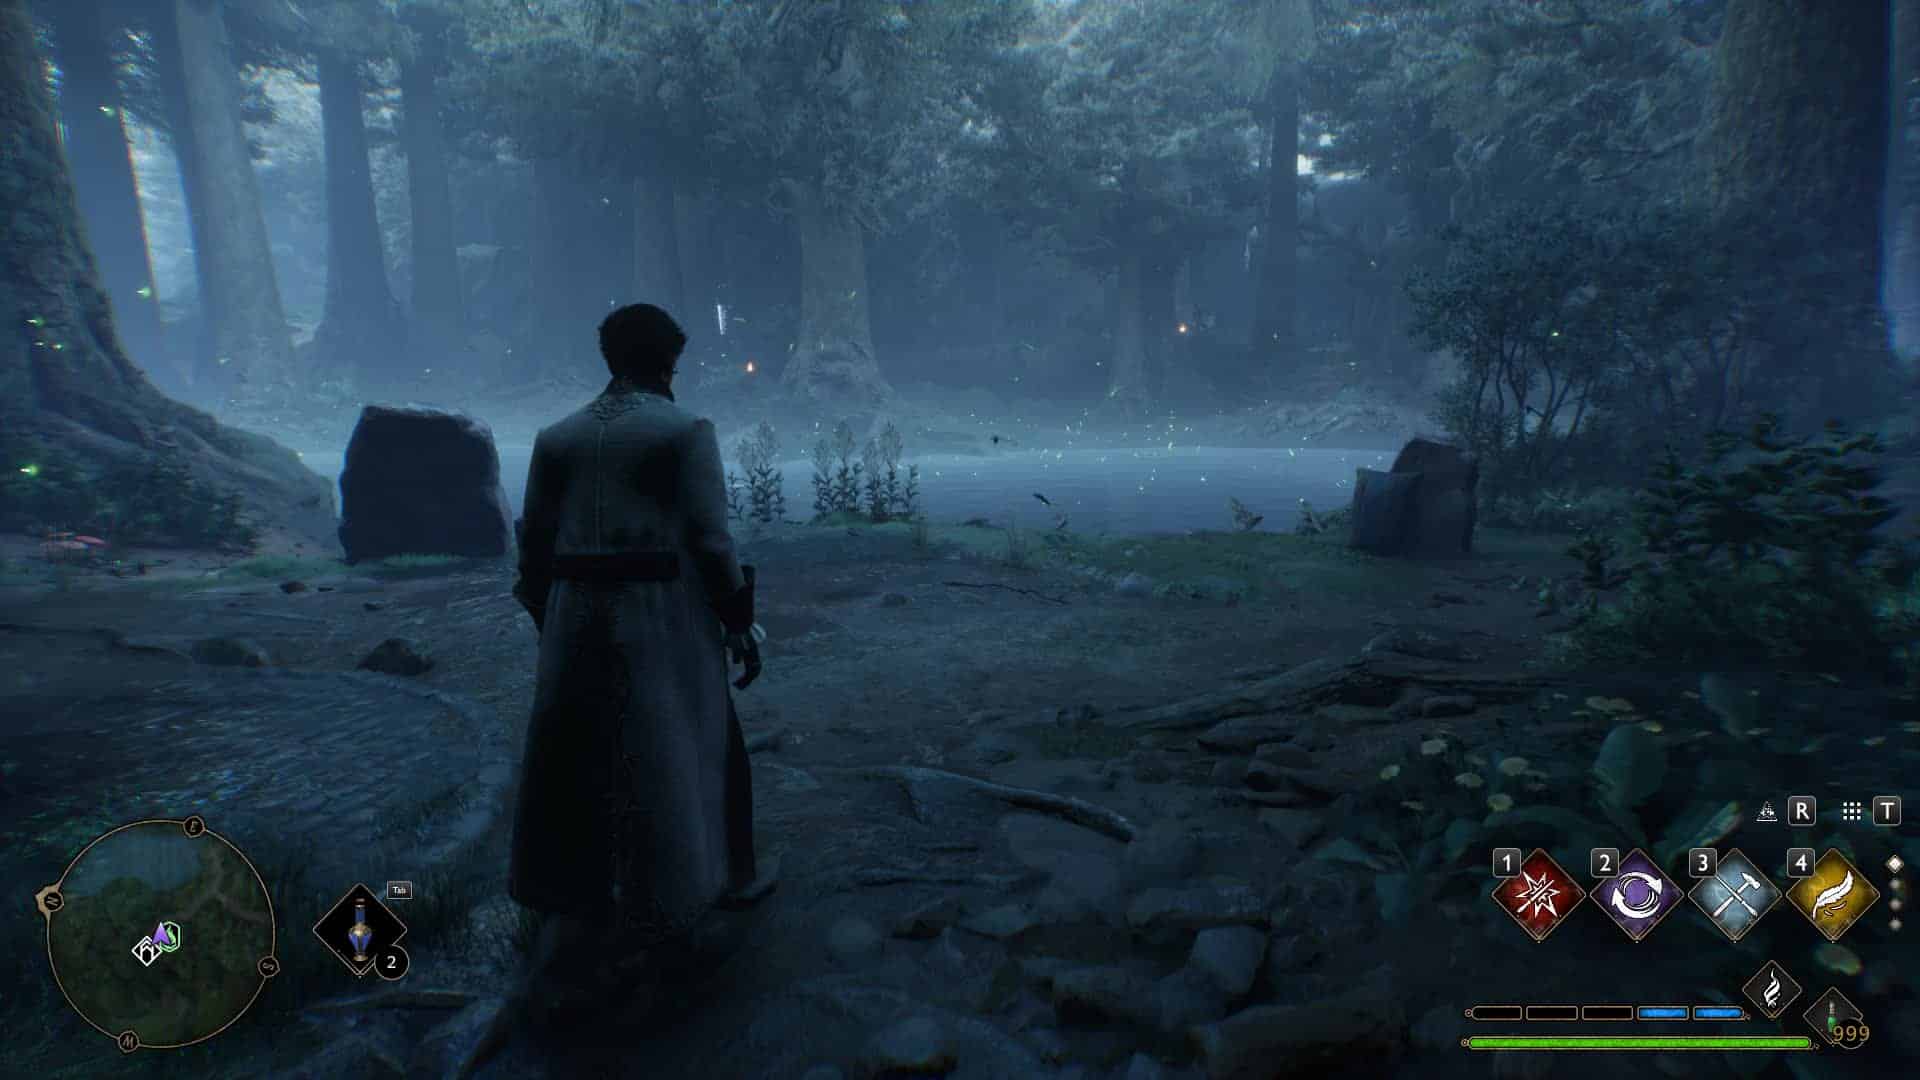
With everything on Ultra I get 87 FPS on vanilla game and 63 on modded game (Cinematic Ultra No Vignette) while in the forgotten forest. It’s not that bad considering you’re maxing out everything and you can customize everything to your liking since the rest of the settings are left vanilla.
Installation for .pak file:
- Go to \Phoenix\Content\Paks
- *OPTIONAL* Create a new folder there named “~mods”.
- Download the mod and drop its contents in either the Paks folder or the ~mods folder.
Installation for Scalability.ini file:
- Go to %LOCALAPPDATA%\Hogwarts Legacy\Saved\Config\WindowsNoEditor
- Replace your Scalability.ini with the mod’s.
- Make sure you set it to Read Only before launching the game or else it will be overwritten by the game and almost everything in it will be deleted. To set it to Read Only you need to Right Click it, click properties and check Read Only in there.
- If you want to edit it use Scalability Reference | Unreal Engine 4.27 Documentation as a reference. To edit it uncheck Read Only, make whatever changes you want and set it back to Read Only before launching the game.
Installation for Engine.ini file:
- Go to %LOCALAPPDATA%\Hogwarts Legacy\Saved\Config\WindowsNoEditor
- Replace your Engine.ini with the mod’s.
Notes:
Choose either the .pak file or the Scalability.ini file. As far as I can tell the Scalability.ini file is working fine but there’s a chance the game isn’t reading everything correctly.
If your Engine.ini file is already editted, open the mod’s Engine.ini file and copy paste whatever you want to your file. E.g. if you want disabled Depth of field copy “r.DepthOfFieldQuality=0” and paste it under [SystemSettings] in your Engine.ini:
[SystemSettings]
r.DepthOfFieldQuality=0 ;Disables DepthOfField
I’ve included comments next to each line. You can use whichever line you want. If you don’t want something disabled just delete it from the file.