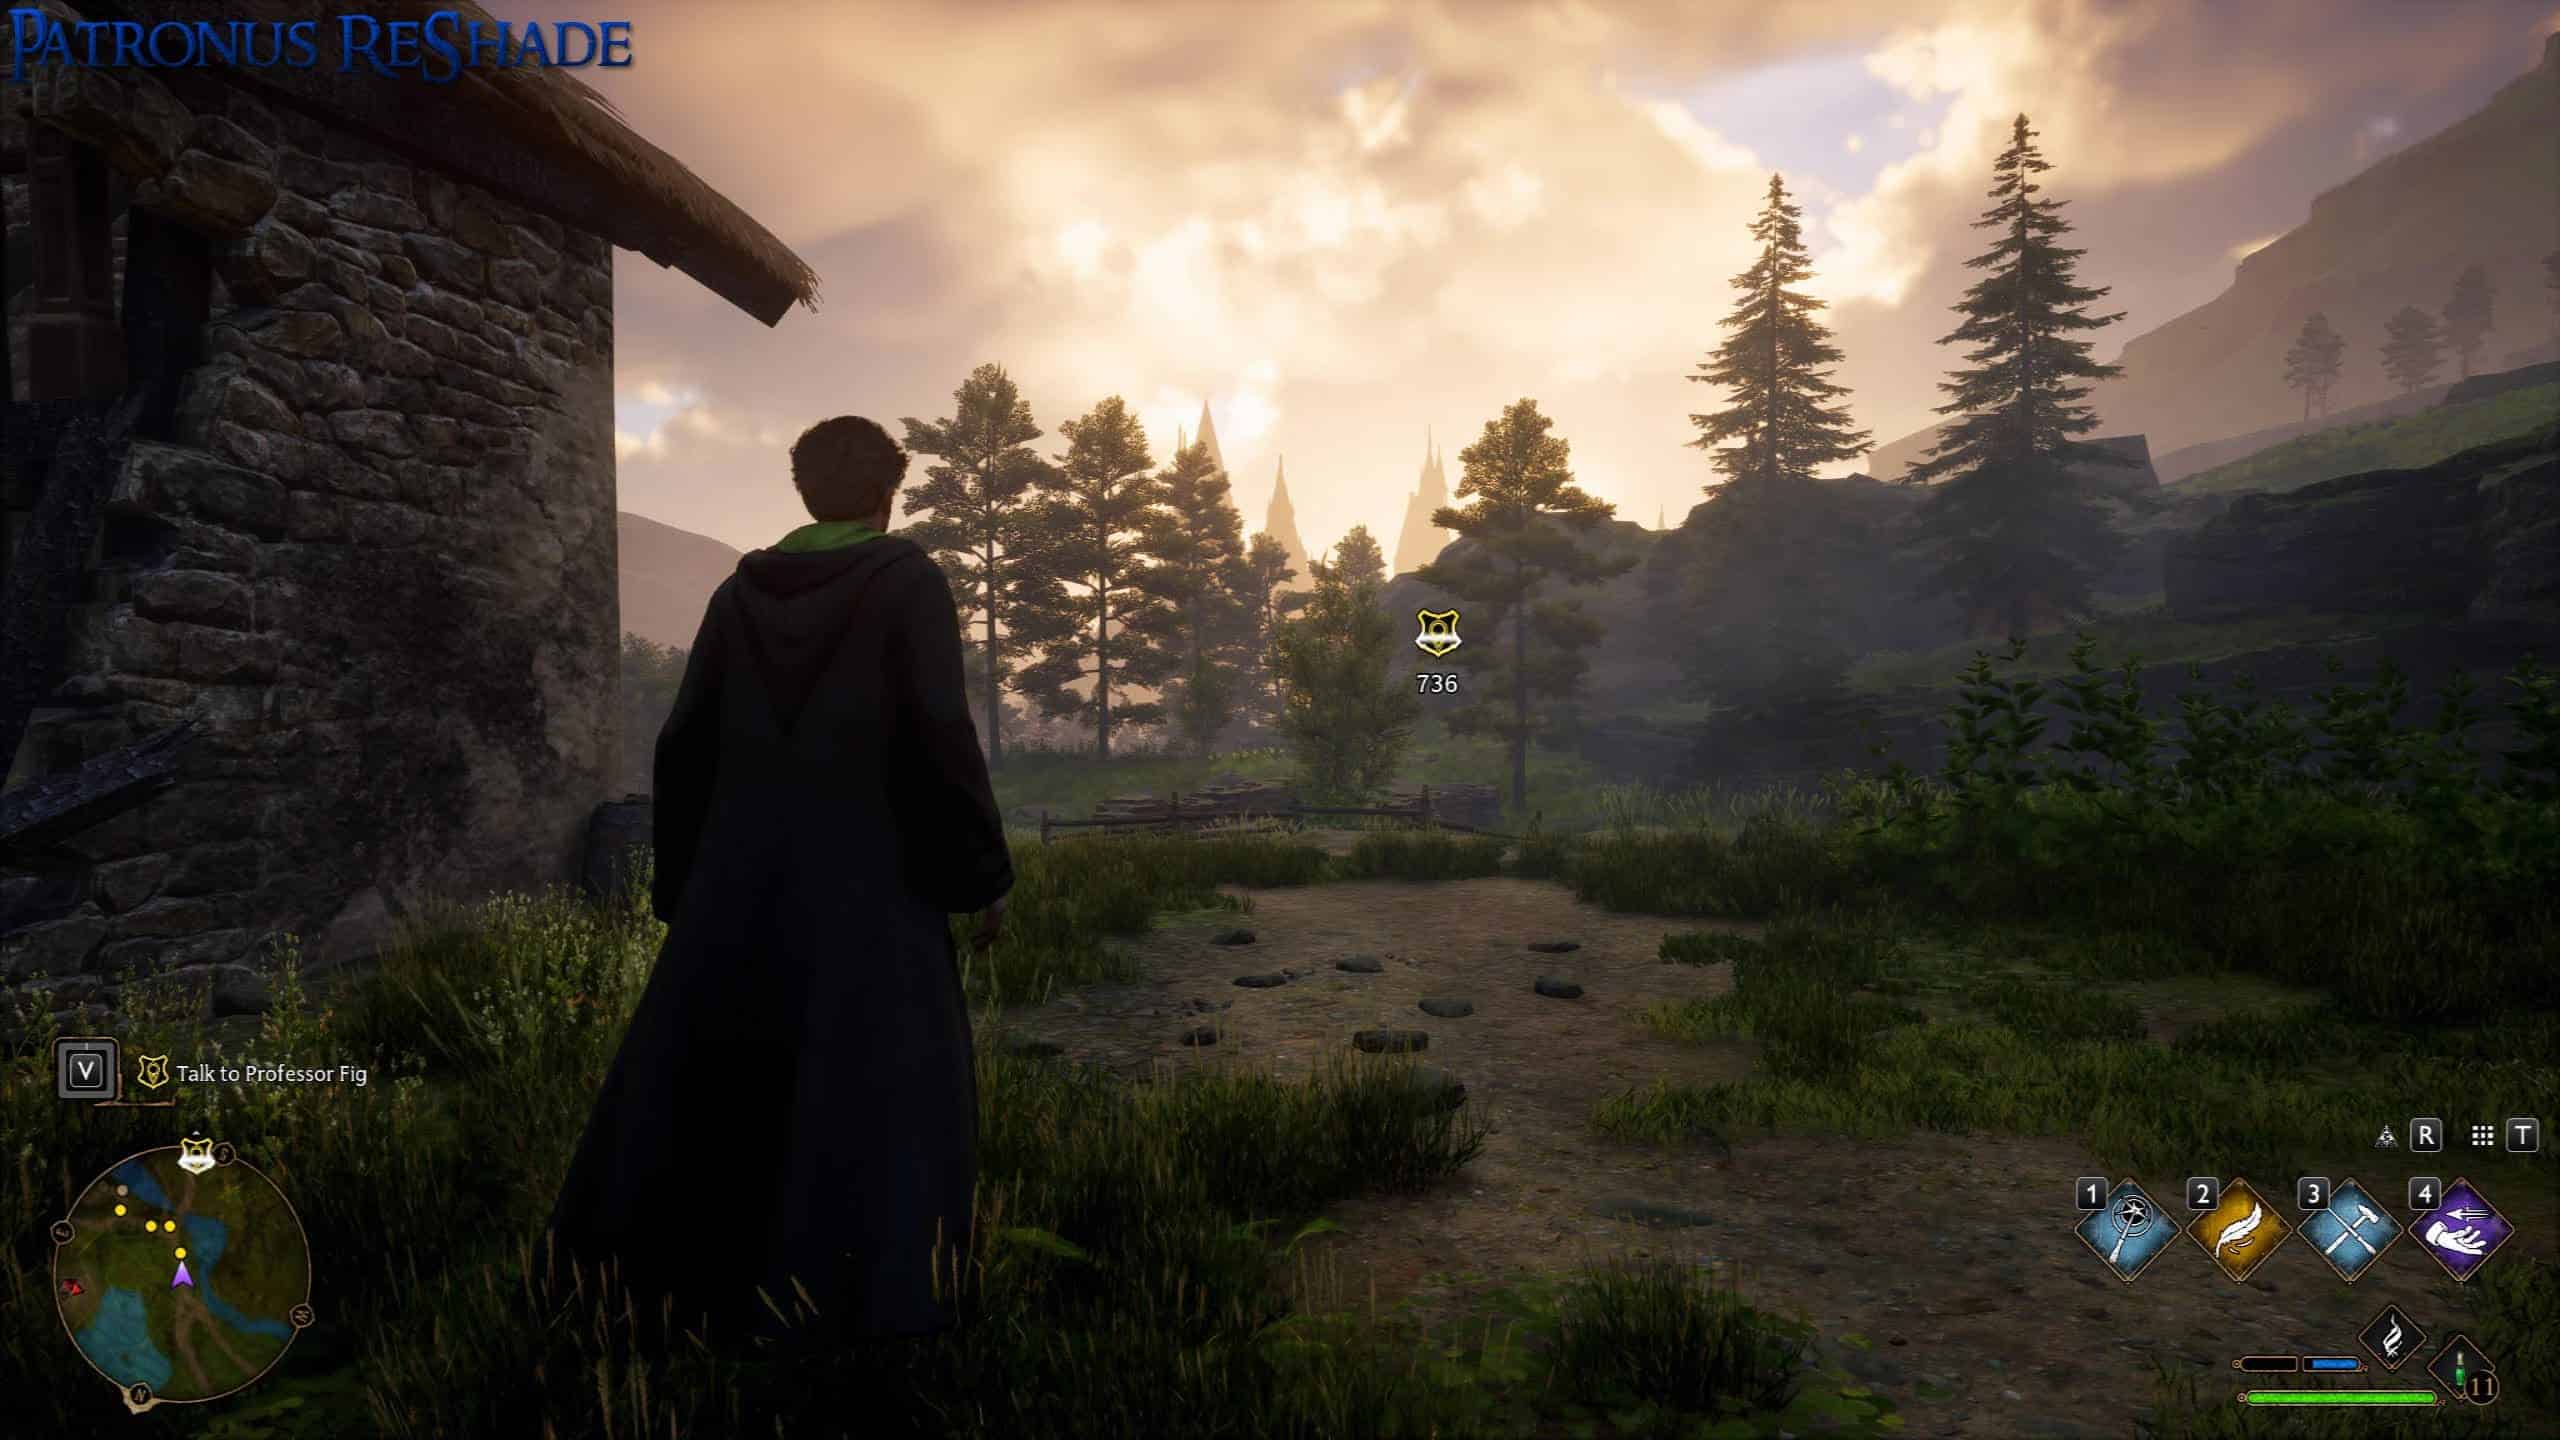


Patronus HL – ReShade
A great ReShade that feels a tad bit more colorful and lively, without overdoing it.
Installation:
HOW TO GET RESHADE:
1. Download the latest Reshade version at https://reshade.me/
2. Run the installer and run Reshade to select your game for the installation – You need to select HogwartsLegacy.exe in the list, or browse it in your game folder (Phoenix\Binaries\Win64\)
3. Click Direct3D 10/11/12
4. Effects needed: Everything!
5. You are done installing the reshade
HOW TO Download Patronus RESHADE:
1. Download the file
2. Unzip “PatronusHL.ini” to the Phoenix directory where the other HL.exe is (\Steam\steamapps\common\Hogwarts Legacy\Phoenix\Binaries\Win64\)
3. Done!


